


Axle back exhaust systems enhance vehicle performance and sound, offering control over exhaust notes while preserving driveability. Key components include high-flow converters, custom mufflers, and some models with coilover kits. Pre-installation checks ensure a seamless process. Installation involves removing stock components, aligning the new system, securing it with hardware, and installing muffler tips. Proper preparation guarantees optimal performance and longevity for your axle back exhaust.
“Elevate your vehicle’s performance and sound with an axle back exhaust system installation. This comprehensive guide offers a detailed journey, from understanding the basics of these powerful upgrades to mastering the step-by-step process.
We’ll walk you through pre-installation checks, ensuring a seamless process, and then provide a clear, concise tutorial. Whether new to exhaust modifications or an experienced enthusiast, this article covers everything, catering to all skill levels. Get ready to unlock your axle back exhaust system’s potential.”
- Understanding Axle Back Exhaust Systems
- Pre-Installation Checks and Preparations
- Step-by-Step Installation Guide
Understanding Axle Back Exhaust Systems
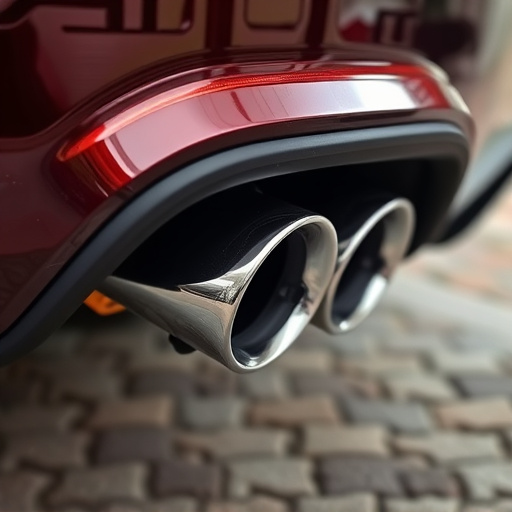
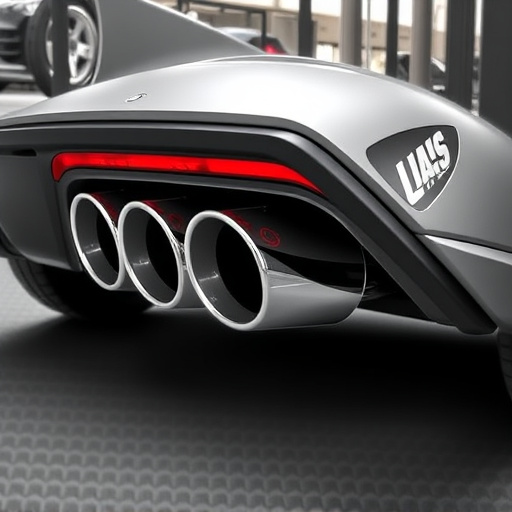
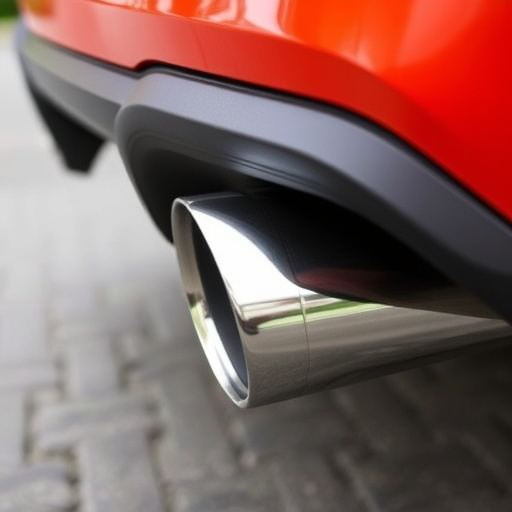
Axle back exhaust systems are a popular upgrade for vehicle owners seeking to enhance their car’s performance and sound. Unlike complete exhaust systems that replace the entire route from engine to tailpipe, axle back systems focus on the portion between the catalytic converter (or muffler) and the rear exit. This targeted approach allows for more control over the exhaust note, often resulting in a deeper, sportier rumble. By modifying only this section, axle back exhausts preserve the stock-like driveability while offering a performance boost, making them an attractive option for both daily drivers and enthusiasts.
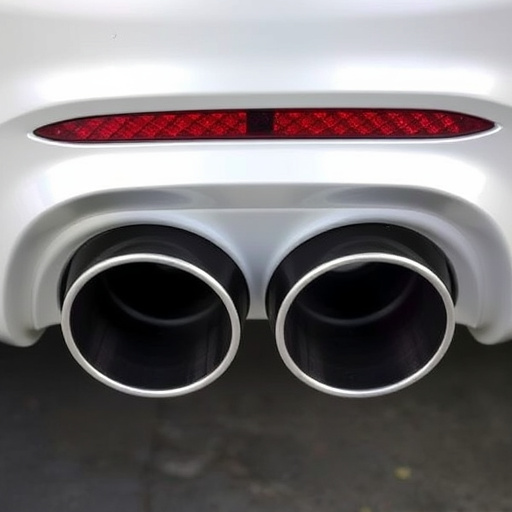
These systems typically consist of high-flow catalytic converters, performance air filters, and custom-designed mufflers or tips. Some models even incorporate coilover kits to fine-tune suspension settings, ensuring optimal handling and comfort. Integrating these components seamlessly requires careful planning and precise installation. Proper fitting ensures not only optimal performance but also prevents potential safety hazards associated with leaks or misalignment.
Pre-Installation Checks and Preparations
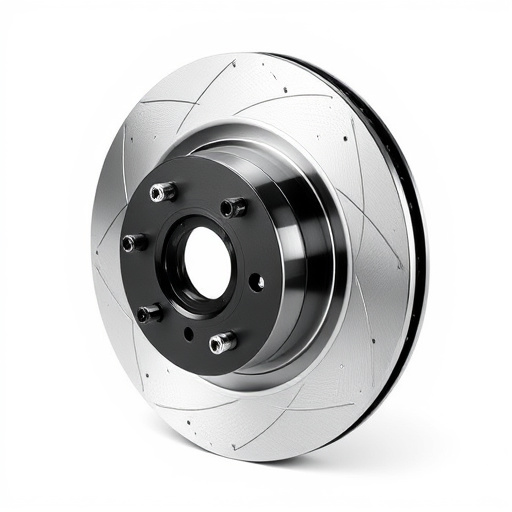
Before installing an axle back exhaust system, conduct thorough pre-installation checks to ensure a smooth and successful process. First, verify that your vehicle’s original exhaust system is in good condition and free from any damage or leaks. Check for worn-out parts such as broken hangers, rusted connections, or corroded pipes, which may require replacement during the installation. Additionally, inspect the undercarriage for any obstructions or existing modifications that could interfere with the new axle back exhaust’s fitment.
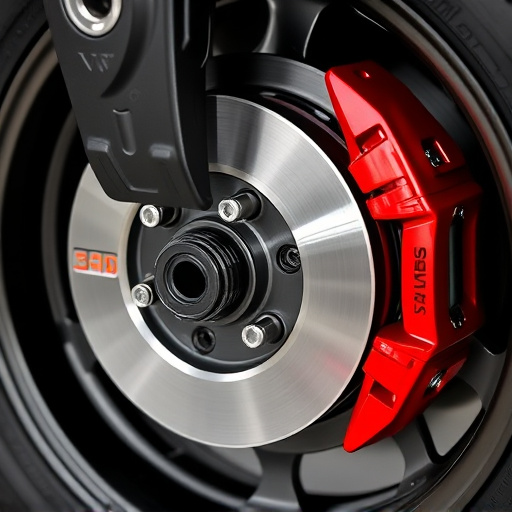
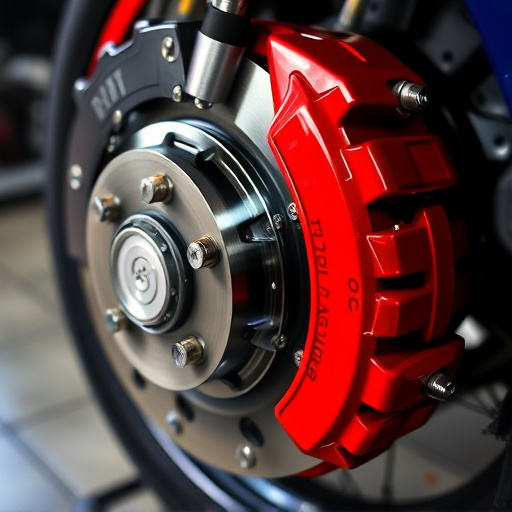
It’s also crucial to ensure compatibility with your vehicle’s make and model. Review the manufacturer’s instructions or consult a professional mechanic to confirm that the axle back exhaust system you’ve chosen is designed for your specific car, taking into account factors like engine type, year, and any unique characteristics of your vehicle, including custom suspension kits or modified brake pads. Proper preparation will not only streamline the installation process but also guarantee optimal performance and longevity of your new axle back exhaust system.
Step-by-Step Installation Guide
Installing an axle back exhaust system can significantly enhance your vehicle’s performance and sound. Here’s a step-by-step guide to ensure a smooth installation process. Begin by removing the stock exhaust system, carefully unbolting each component and setting them aside. This typically involves disconnecting the muffler, catalytic converter (if applicable), and exhaust pipes. Once these are removed, inspect the new axle back exhaust for any damage during transport.
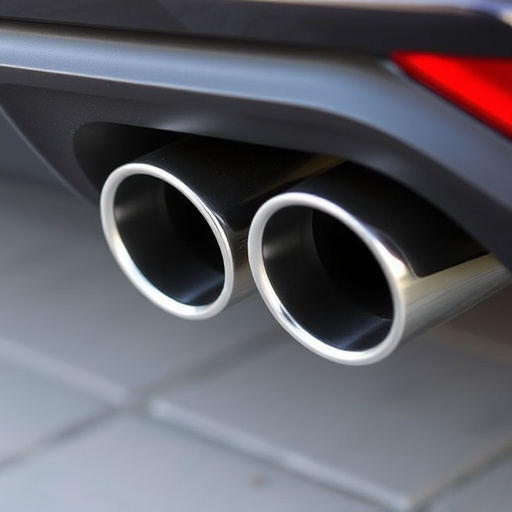
Next, position the new exhaust system in place, ensuring all hangers and brackets align correctly with your vehicle’s frame. Secure the exhaust using the provided hardware, tightening bolts firmly but without overtightening to prevent damage. Install the muffler tips, making sure they are properly sealed for optimal sound reduction. If you’re incorporating coilover kits or upgrading intake components as part of a broader modification, ensure these are compatibly installed before final assembly.
Installing an axle back exhaust system can significantly enhance your vehicle’s performance and sound. By following the comprehensive steps outlined in this guide, from understanding the components to the final assembly, you’ll be well on your way to achieving a smoother, more powerful ride. Remember to conduct thorough pre-installation checks and prepare the necessary tools for a seamless process. Now, get ready to unleash the roar of an improved axle back exhaust system!